![]()
Do It Yourself (DIY)
Hint: If you aren't in great physical shape when you start a labor-intensive DIY home improvement project, use your "wrong" hand/arm/shoulder whenever possible. Whether you're right or left handed, save your "good" side for the intricate stuff. Use your other hand/arm for the grunt work. This helps distribute the work load, so your good arm doesn't turn into a noodle when you need it most.
Examples: Sweeping, raking, picking things up, vacuuming, roller painting, washing out paint brushes, rough hand sanding, and wiping down surfaces, can all be done with your other hand. Save your good hand for the precision work.
Hint: If you're project will take more than a couple of hours, plan ahead for snacks and drinks. If it's a messy project, pack a cooler, Thermos, wrapped sandwiches, and damp washcloth for your hands, so you won't have to traipse through the house and risk messing it up when you get hungry.
If the job will take days or weeks, make up a whole bunch of TV dinners or other cooked/frozen easy meals. You won't feel like going out to eat after a hard day of DIYing, and having pizza delivered gets old fast.
Hint: The best edging tool we've found for painting right up to a contrasting color, is a cheap little disposable foam paintbrush. We also keep a wet one handy, when using waterbased paint, to clean up "oopsies" in hard to get at places.
Hobbit House
In June of 2004 we moved from Northern California to Western
Oregon.
Here we bought our little dream house on the Lake Creek, near where it feeds
into the Siuslaw River.
The house had been a rental for many years, in need of a major renovation.
We camped out in our 5th wheel, in the front yard, while remodeling the house.
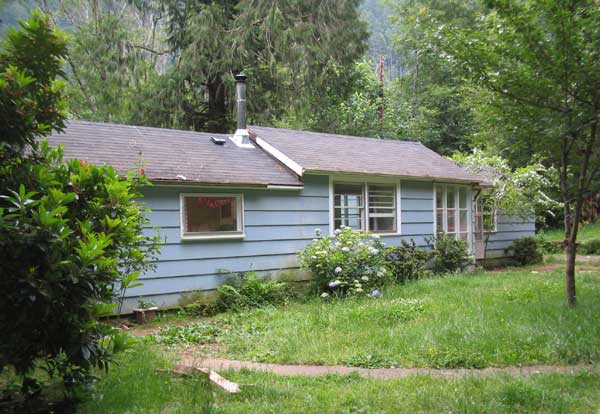
Here is the front view of the house.
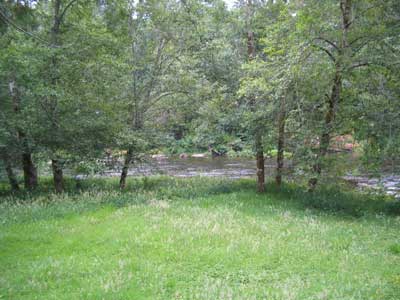
This is the view from the back deck, facing the river.
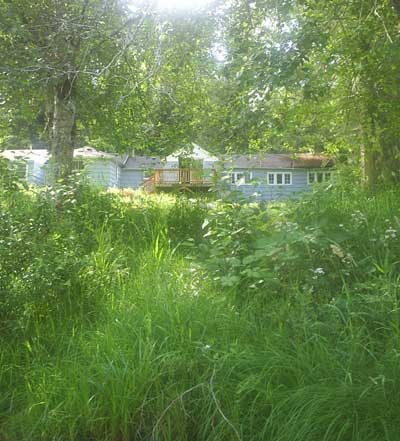
Standing in the river, looking back up to the house (before a much-needed mowing).
DIY HINT: Our latest project is plastering the wall in our new add-on porch/dining room. When we got to the final touchup phase, just before painting, we had to find all the tiny flaws in our finishing work. Those little devils didn't want to show up under direct light, so I turned off the regular lights and used a flashlight at a low angle to bring out the shadows. It worked like a dream. Our first effort at plastering resulted in a better job than the original "professional" job on the living room ceiling. What a great feeling.
Interior "Before"
Shots
River Shots
Flooding
Garage Before and After
Herb Garden
Patio
Family and "Friends"
Secret Garden
Wood Stove Before and After
Other Garden Sites
Local Area Links
Affiliate Sponsor
Copyright 1995-2007 Susan
Molthop
All Rights Reserved
Contact